Art of Custom Website Design

Art of Custom Website Design

Crafting Digital Dreams

Every business dreams of establishing a strong online presence. But how does one turn this dream into reality? The answer lies in custom website design. At Web City Lab, we are experts in crafting digital dreams, creating unique, engaging, and user-friendly websites that reflect your brand’s personality.
But what is custom website design, and why does your business need it?

Understanding Custom Website Design

Custom website design involves creating a website from scratch, tailored to meet your business’s specific needs. It’s not just about slap-dash templates; it’s about understanding your brand, identifying your audience, and creating a design that speaks your language.
At Web City Lab, we believe custom website design is the art of converting your digital dreams into a tangible reality.

Why Choose Custom Website Design?

Custom website design offers more than just a sleek interface—it provides a canvas where creativity thrives. It allows businesses to:

  • Stand Out from the Competition: With a unique design, you make a statement that sets you apart from your competitors.
  • Reflect Your Brand Identity: A custom design truly reflects your brand’s ethos, making it easier to connect with your audience.
  • Optimize User Experience: With a tailored design, you can enhance user experience, reducing bounce rates and boosting conversion.

Our Expertise in Custom Website Design

At Web City Lab, we combine creativity with technical expertise to deliver custom designs that resonate with your audience. Our team of experienced designers and developers understand the nuances of your business needs, offering innovative solutions that drive growth. We’re not just techies; we’re dream weavers, focusing on every minute detail to bring your digital dreams to life. Trust and authority come in hand when dealing with us. So, are you ready to embark on a journey of crafting digital dreams with us?

In the ever-evolving landscape of the digital age, a well-crafted website is the cornerstone of a successful online presence. For Web City Lab, a cutting-edge web design agency, crafting custom websites is an art form that combines creativity, technology, and strategy. This article delves into the intricacies of custom website design, exploring the process, principles, and the magic that goes into creating digital dreams for Web City Lab’s clients.

1.1 Understanding Custom Website Design

  • Defining custom website design.
  • Advantages of custom websites over templates.
  • Tailoring websites to meet unique client needs.

1.2 The Art of Personalization

  • Creating a unique brand identity.
  • Tailoring user experiences for specific audiences.
  • The role of user personas in customization.

2.1 Discovery and Research

  • Client consultation and understanding goals.
  • Market research and competitor analysis.
  • Establishing project scope and objectives.

2.2 Design and Conceptualization

  • Wireframing and prototyping.
  • Color schemes, typography, and visual elements.
  • Incorporating brand identity into the design.

2.3 Development and Implementation

  • Choosing the right technology stack.
  • Coding and programming.
  • Responsive design for various devices.

2.4 Testing and Quality Assurance

  • Rigorous testing for functionality.
  • Cross-browser and device compatibility.
  • User testing and feedback incorporation.

3.1 User-Centered Design

  • Prioritizing user needs and expectations.
  • Intuitive navigation and user interfaces.
  • Accessibility and inclusivity considerations.

3.2 Interactive Elements

  • Engaging animations and micro-interactions.
  • Enhancing user engagement through interactivity.
  • Balancing aesthetics with functionality.

4.1 Search Engine Optimization (SEO)

  • Importance of SEO in custom website design.
  • On-page and off-page SEO strategies.
  • Keyword research and content optimization.

4.2 Speed and Performance

  • Fast loading times for improved user experience.
  • Optimizing images and assets.
  • Minimizing code and script bottlenecks.

5.1 Launching the Custom Website

  • Pre-launch checks and preparations.
  • Deploying the website to the server.
  • Post-launch monitoring and bug fixes.

5.2 Ongoing Maintenance and Updates

  • Security updates and patches.
  • Content updates and scalability.
  • Analyzing user data for continuous improvement.

6.1 Showcasing Success Stories

  • Real-world examples of custom website design projects.
  • How custom websites led to tangible results for clients.

7.1 Emerging Trends and Technologies

  • Artificial intelligence in web design.
  • Voice and chatbot integration.
  • Augmented and virtual reality experiences.

7.2 Ethical and Sustainable Design

  • Designing for environmental sustainability.
  • Ensuring ethical data handling and user privacy.

As the digital world continues to evolve, custom website design remains at the forefront of online success. Web City Lab’s commitment to crafting digital dreams is a testament to the intersection of artistry, technology, and strategy in the field of web design. With a focus on customization, user experience, and future trends, the art of custom website design is poised to shape the online landscape for years to come.

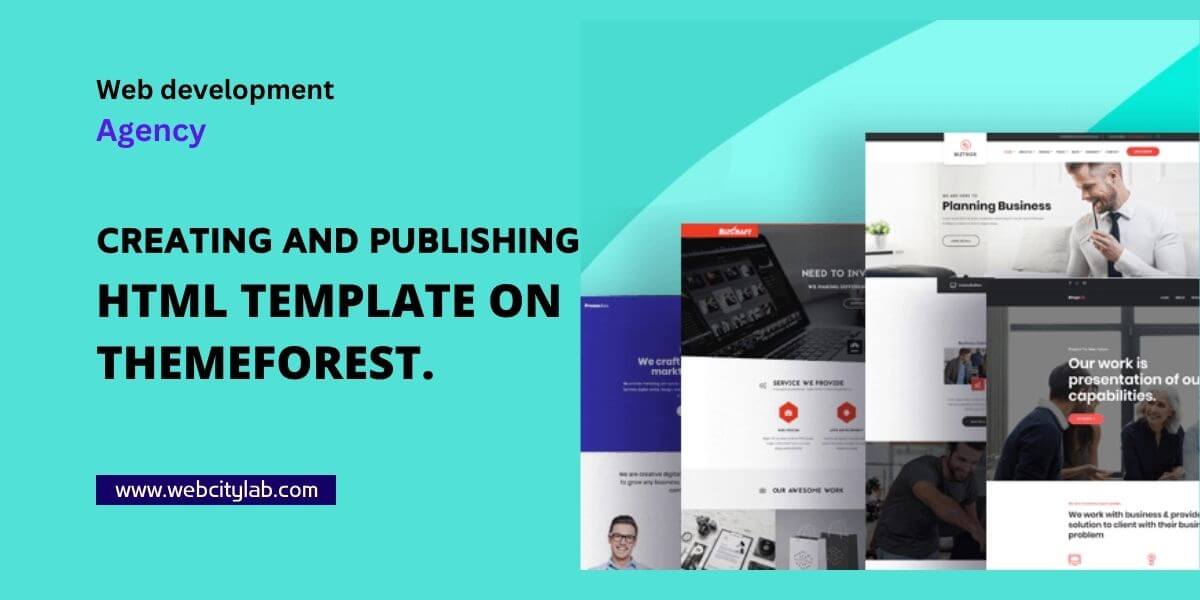
Creating and Publishing HTML Template on ThemeForest: A Short Guideline

Creating and Publishing HTML Template on ThemeForest: A Short Guideline

Title: Creating and Publishing HTML Template on ThemeForest: A Short Guideline

Introduction: Publishing your HTML template on ThemeForest can be a rewarding experience that not only showcases your design skills but also generates income. This short guideline outlines the essential steps to help you create and publish a successful HTML template on ThemeForest.

Step 1: Research and Conceptualization

Research and ConceptualizationResearch and Conceptualization Before you start designing, research the market to identify popular trends and user preferences. Consider the niche you want to target and create a clear concept for your template. Understand the specific features and design elements that potential buyers are looking for.

Step 2: Design and Development
  • Wireframing: Create a wireframe of your template’s layout to plan its structure and user flow.
  • Visual Design: Craft a visually appealing design that aligns with your chosen concept. Pay attention to typography, color schemes, and graphics that complement the theme.
  • Responsive Design: Ensure your template is responsive and looks great on various devices and screen sizes.
  • User Experience (UX): Design with user experience in mind. Keep navigation intuitive, load times minimal, and interactions seamless.
Step 3: Coding
  • Clean HTML/CSS: Write clean, organized, and well-commented HTML and CSS code.
  • JavaScript: Add interactivity and functionality using JavaScript/jQuery, keeping performance and compatibility in mind.
  • Optimization: Optimize your code and assets for fast loading times.
Step 4: Features and Components

Features and Components Integrate relevant features and components that enhance the template’s usability and appeal, such as sliders, forms, animations, and social media integration.

Step 5: Testing
  • Cross-Browser Compatibility: Test your template on various web browsers (Chrome, Firefox, Safari, etc.) to ensure consistent performance.
  • Mobile Testing: Test your template on different devices to ensure responsiveness.
  • Functionality Testing: Verify that all interactive elements, forms, and features work as intended.
Step 6: Documentation

Documentation Create comprehensive documentation that guides buyers through installing, customizing, and using your template. Include clear instructions and screenshots where necessary.

Step 7: Package Preparation
  • ZIP Folder: Organize your template files neatly in a ZIP folder.
  • Licensing: Ensure you have the right to use any assets, fonts, or third-party tools you’ve included.
  • Demo Content: If applicable, include sample content that demonstrates your template’s features.
Step 8: Uploading to ThemeForest
  • ThemeForest Account: If you don’t have one, create an account on ThemeForest.
  • Template Submission: Go to the “Author Dashboard” and navigate to “Upload Item.” Fill in all the required information, including a catchy title, informative description, and relevant tags.
  • Upload Files: Upload your ZIP folder, preview images, and screenshots.
  • Demo Link: Provide a live demo link where buyers can interact with your template.
Step 9: Review and Approval

Review and Approval Your template will go through a review process by ThemeForest staff. Make sure your template adheres to their quality standards and guidelines.

Step 10: Launch and Promotion

Launch and Promotion Once your template is approved, celebrate your achievement and promote it through your social media channels, website, and relevant online communities.

Creating and publishing an HTML template on ThemeForest demands a blend of design skills, coding proficiency, and attention to user experience. By following this short guideline, you’ll be well on your way to offering a valuable product to potential buyers while contributing to the vibrant ThemeForest marketplace.


Theme Item Preparation & Technical Requirements for ThemeForest

Publishing HTML Template on ThemeForest can be a lucrative endeavor, provided your theme meets the platform’s technical requirements and is well-prepared for submission. This guide outlines the crucial steps and technical considerations for preparing and submitting your theme to ThemeForest.

Step 1: Theme Design and Conceptualization

Theme Design and Conceptualization Begin by conceptualizing your theme. Research market trends, identify target niches, and define the design concept. Your theme’s visual appeal and unique features will play a significant role in attracting potential buyers.

Step 2: Design and Development
  • Responsive Design: Craft a design that is responsive and adapts seamlessly to various devices and screen sizes.
  • User Experience (UX): Prioritize a user-friendly interface, clear navigation, and intuitive interactions.
  • Typography and Color Palette: Choose typography and color schemes that align with your theme’s concept and provide a visually appealing experience.
Step 3: Technical Considerations
  • Code Quality: Write clean, well-structured, and commented code for both HTML/CSS and JavaScript.
  • Cross-Browser Compatibility: Test your theme on multiple browsers (Chrome, Firefox, Safari, etc.) to ensure consistent performance.
  • Performance Optimization: Optimize your code and assets for fast loading times and smooth performance.
  • Accessibility: Ensure your theme is accessible to users with disabilities, adhering to WCAG guidelines.
  • Security: Implement secure coding practices to protect users and data.
Step 4: Features and Functionality
  • Customization Options: Provide users with customization options for layout, colors, fonts, and other elements.
  • Widget Support: Integrate widget areas to enhance user customization.
  • Plugins Compatibility: Ensure compatibility with popular plugins to extend functionality.
  • Demo Content: Include sample content to demonstrate various layout options and features.
Step 5: Documentation

Documentation Create comprehensive documentation that guides users through theme installation, customization, and use. Include step-by-step instructions and visual aids.

Step 6: Package Preparation
  • ZIP Folder: Organize all theme files and assets in a well-structured ZIP folder.
  • Licensing: Make sure you have proper licensing for any third-party assets or tools included in your theme.
  • Demo Content: Provide separate files for demo content if applicable.
Step 7: ThemeForest Submission
  • ThemeForest Account: Create or log in to your ThemeForest account.
  • Upload Item: Access the “Author Dashboard” and navigate to “Upload Item.” Complete all required fields, including title, description, and tags.
  • Upload Files: Upload your ZIP folder, preview images, and screenshots.
  • Documentation: Attach your comprehensive documentation in a readable format.
  • Demo Link: Include a live demo link for potential buyers to explore.

Step 8: Review and Approval ThemeForest staff will review your submission for quality, functionality, and adherence to their guidelines. Address any feedback or required changes promptly.

By adhering to ThemeForest’s technical requirements and following the steps outlined in this guide, you’ll increase your chances of successfully submitting your theme. Remember, a well-prepared theme with high-quality code, exceptional design, and robust functionality will not only meet buyer expectations but also contribute to your success as a ThemeForest author.

How to set a timeline for creating html template for themeforest

Setting a timeline for creating an HTML template for ThemeForest involves careful planning and organization. Here’s a step-by-step guide to help you establish a realistic timeline:

Define the Scope:

  • Clearly outline the features, design elements, and functionality you intend to include in your HTML template.
  • Identify any unique or complex aspects that might require more time for development.

Break Down the Project:

  • Divide the project into smaller tasks, such as wireframing, design, coding, testing, documentation, and submission preparation.

Estimate Time for Each Task:

  • Estimate the amount of time each task will take. Be realistic and consider any potential setbacks or learning curves.
  • Add buffer time for unexpected challenges or revisions.

Set Milestones:

  • Establish milestone points throughout the project to track your progress.
  • Assign specific tasks to each milestone, such as completing the design, implementing features, and finalizing documentation.

Prioritize Tasks:

  • Arrange tasks in order of priority. Start with essential components before moving to secondary features.
  • This ensures that the core functionality and design are addressed first.

Allocate Time for Revisions:

  • Set aside time for revisions and improvements based on feedback from testing and reviews.
  • Iteration is a crucial part of the design and development process.

Consider External Factors:

  • Account for external factors that might impact your timeline, such as holidays, personal commitments, or unforeseen events.

Plan for Quality Assurance:

  • Allocate time for thorough testing to identify and fix any bugs, inconsistencies, or issues.
  • This step is crucial to deliver a high-quality and reliable template.

Documentation:

  • Plan time for creating comprehensive documentation that will help users understand and utilize your template effectively.

Submission Preparation:

  • Dedicate time to prepare all necessary files, documentation, demo content, and other assets for submission to ThemeForest.

Buffer Time:

  • Include buffer time at the end of your timeline to account for unexpected delays or additional revisions.

Review and Adjust:

  • Regularly review your progress against the established milestones.
  • If you’re falling behind or encountering unexpected challenges, adjust your timeline accordingly.

Final Polishing:

  • In the last phase, allocate time for a final review and polishing of your HTML template to ensure it meets your quality standards.

Submission:

  • Allocate time to go through ThemeForest’s submission process, which includes uploading your files, completing forms, and providing documentation.

Launch and Promotion:

  • Plan for the launch of your template and allocate time for promotion through social media, forums, and other relevant channels.

Remember that every project is unique, and the timeline may vary based on the complexity of your HTML template, your familiarity with the design and coding process, and your available resources. Be flexible, and don’t hesitate to adjust your timeline as needed to ensure a high-quality final product.

How to freed up your my-computer storage?

How to freed up your my-computer storage?

If your Mac laptop is running low on storage space, there are several steps you can take to free up some space. Here are some suggestions:

Remove unnecessary files: Go through your documents, downloads, and desktop folders and delete any files that you no longer need. Look for large files or folders that are taking up significant space.

Empty the Trash: After deleting files, remember to empty the Trash. Simply right-click on the Trash icon in the dock and select “Empty Trash.”

Manage applications: Uninstall any applications that you no longer use. You can do this by dragging the application from the Applications folder to the Trash, or by using an uninstaller if the application provides one.

Clear temporary files: Some applications generate temporary files that can take up space over time. You can use tools like CleanMyMac or Onyx to clean up temporary files and caches on your Mac.

Optimize storage: macOS has a built-in feature called “Optimize Storage” that can automatically remove iTunes movies and TV shows you’ve already watched, and it can also keep only the most recent email attachments rather than storing all of them. To enable this feature, go to the Apple menu > About This Mac > Storage > Manage.

Offload files to external storage: If you have large files or folders that you don’t need regular access to, consider moving them to an external hard drive or cloud storage service to free up space on your Mac.

iCloud storage: If you use iCloud, you can enable the “Optimize Mac Storage” option, which will store older files and photos in the cloud while keeping optimized versions on your Mac. This can help free up local storage space.

Use streaming services: Instead of downloading movies, TV shows, or music, consider using streaming services like Netflix, Spotify, or Apple Music. This way, you can enjoy your favorite content without taking up storage space.

Check for large attachments in email: Email attachments, especially those with large file sizes, can consume a significant amount of space. Search for emails with attachments and delete or save them elsewhere.

By following these steps, you should be able to free up some space on your Mac laptop and improve its performance. Remember to regularly clean up and manage your files to maintain a clutter-free system.